


Knitting on Edge - Final Update on Double Knitting Borders
This a post full of technical knitting details for anyone who's interested.

My last post included a link to NimbleNeedles’ YouTube video showing us how to execute the clever double knitting border. I presented it as a way to prevent stockinette from curling. Norman (NimbleNeedles) presents it simply as a very neat look for selvage edges. I have an update after knitting about twenty inches of stockinette which is about 20-25 inches wide.
Norman’s instructions state: k1, s1wyif, k1 (knit 1 stitch, slip the next stitch with yarn in front, knit one stitch) on right side, for the first three and last three stitches on each row. For the wrong side the instructions are s1wyif, k1, s1wyif on both ends of the row. (This makes sense; you’re knitting the slipped stitches and slipping the knitted stitches.) This works regardless of the rest of your pattern - stockinette, garter, seed stitch, or anything else.
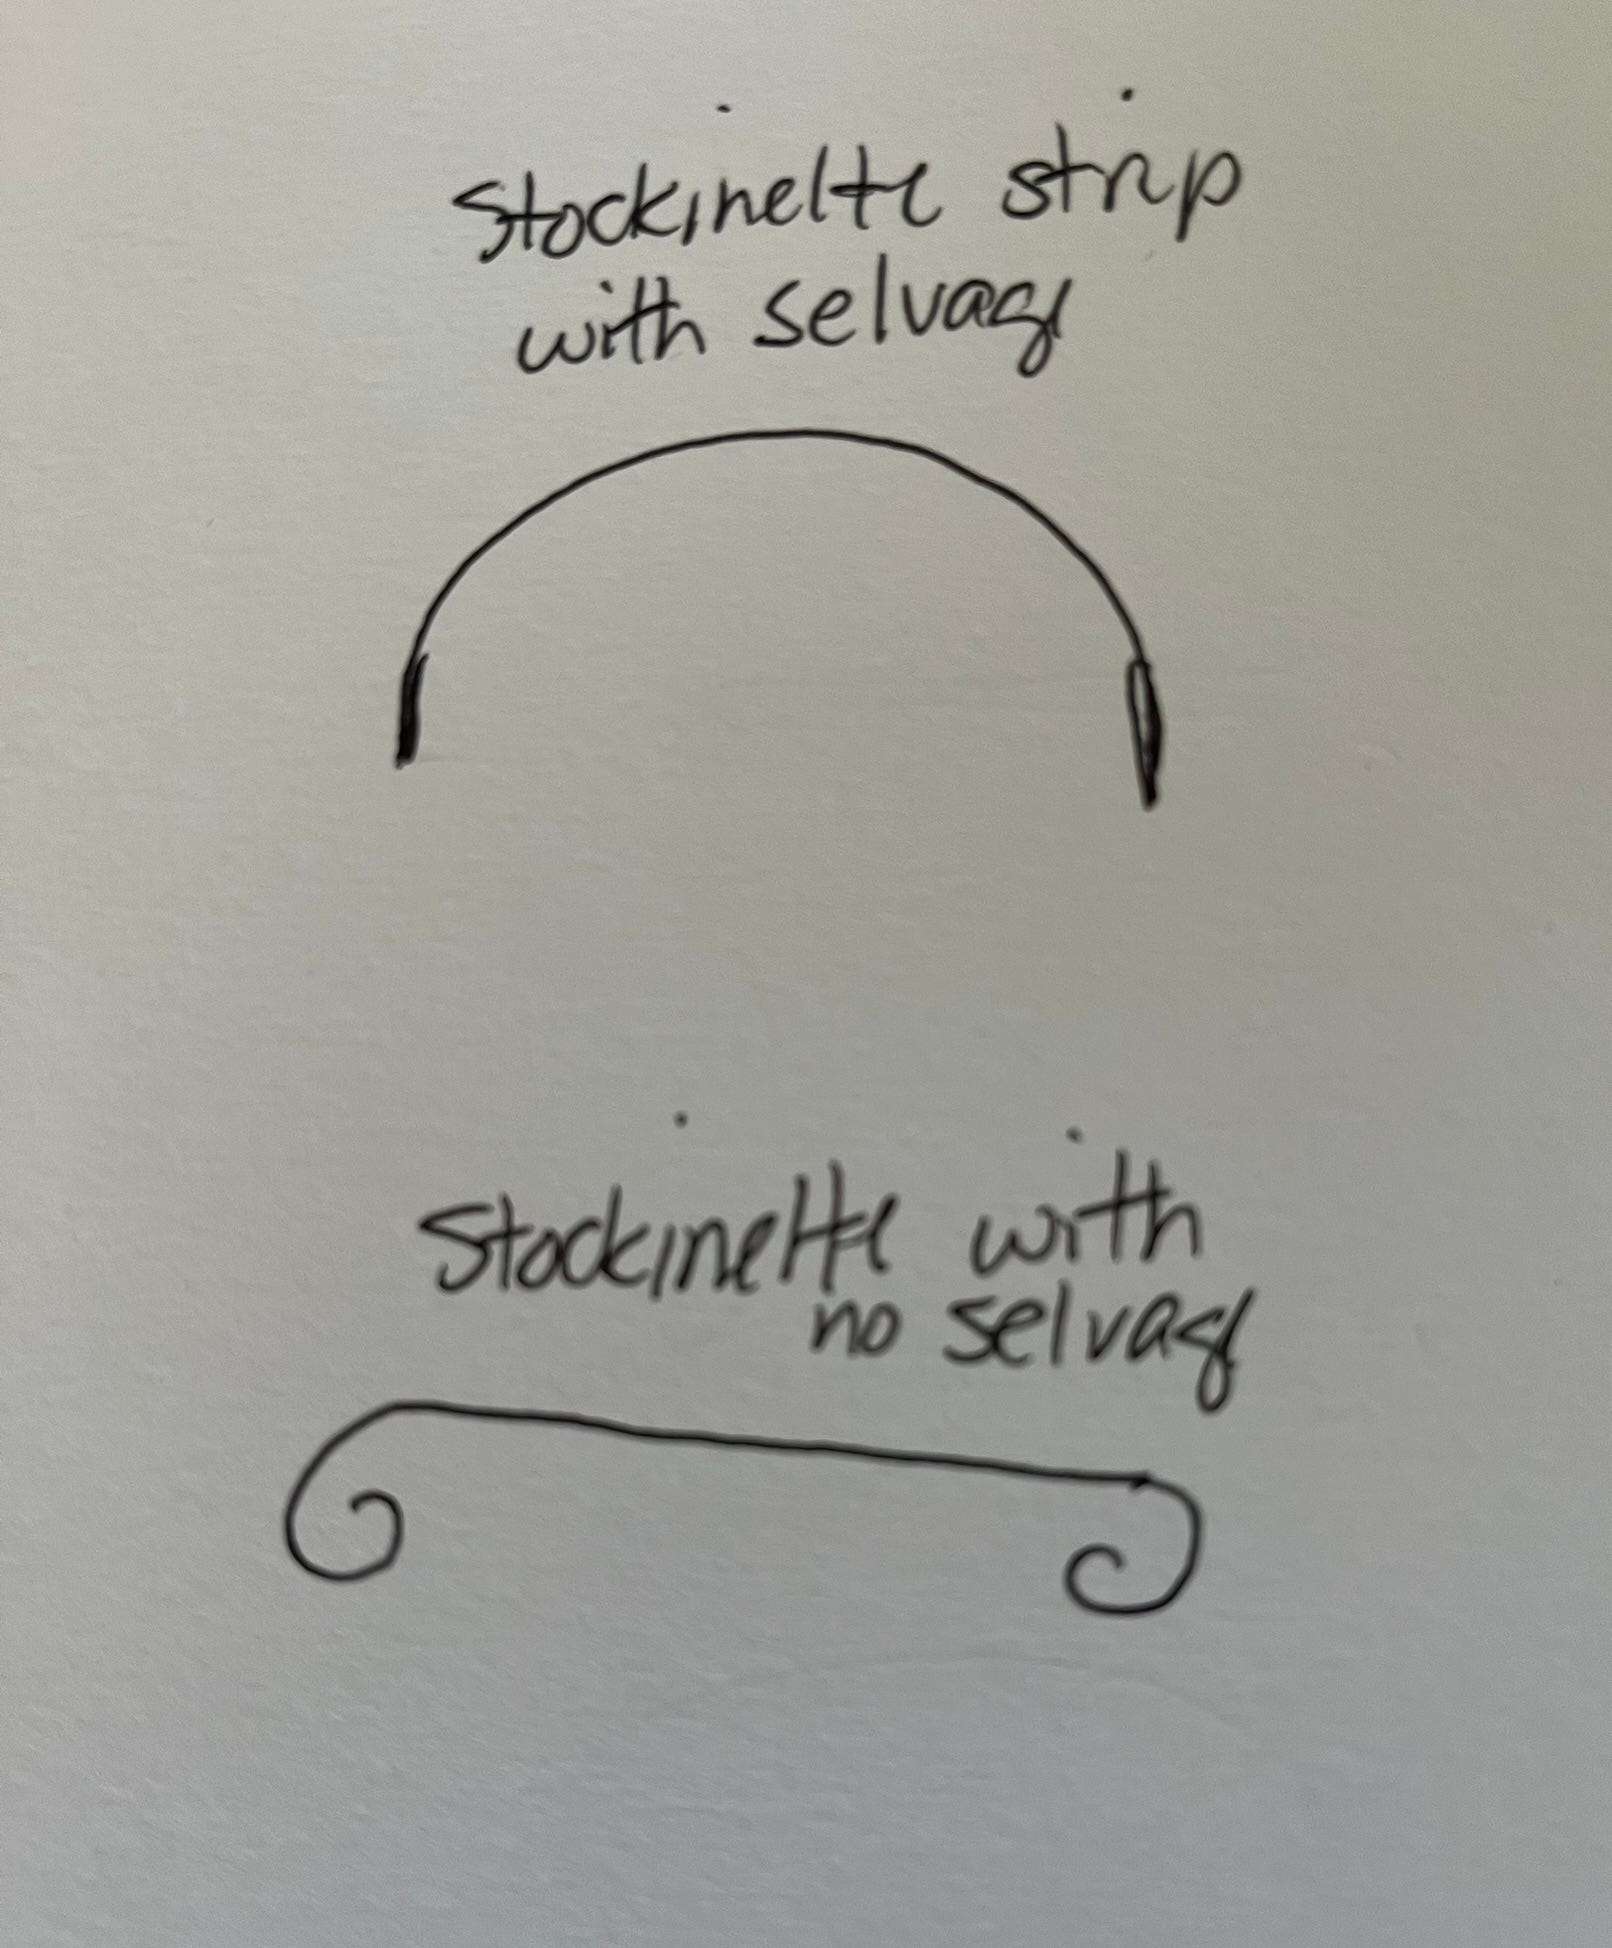
I used this pattern as written on a narrow strip of stockinette and found that, although the edges were, indeed, very neat, there was some pretty extreme obvious curving of the entire fabric; that stockinette still wanted to pull in overall, but the knitted edges themselves curved no less than the rest of the fabric See my sketch photo at the bottom of this post.
So, I decided to add two stitches to the pattern for my larger stockinette piece mentioned earlier, with each right side starting and ending with k1, sl1wyif, k1, sl1wyifk, k1 and starting /ending each wrong side with s1wyif, k1, sl1wyif, k1, sl1wyif.
This fabric was started with a seed stitch bottom border (no slip stitch selvage), and the fabric pulled in significantly once I started the stockinette and 5-stitch slip stitch selvage. The selvages do tend to roll under, but when I flatten them with my fingers they stay flat. I think they would block this way, and it’s only an issue with patterns that are primarily stockinette (or reverse stockinette); it’d be fine with almost any other pattern that incorporates knit and purl stitches.
So, overall my non-curling hopes were slightly . . . curled. However, there’s one benefit I never considered before: if you’re using more than one color and carrying unused colors up the edge of the work instead of cutting them, this slip stitch edge, which is basically creating a tube, completely hides the otherwise visible color changes. I normally wouldn’t carry colors up more than two rows, but using this selvage I recently carried my unused color at least 6 rows up. that color change is completely invisible. I suspect this might also be a great way to hide loose ends you’ve woven in, but I haven’t tried to wrangle that yet.
Here are some photos to illustrate what I’ve tried to convey in words:


To conclude:
The slipped stitch selvage naturally wants to fold under, and it could create a pretty, neat edge if allowed to do so - basically an unstitched hem. With the addition of a few stitches before the actual pattern begins and again after it ends, and a lighter-weight yarn, this could look very nice. It hides the striped color changes - but I like those stripes. (This is a heavy worsted acrylic.)
The first color in the sequence (blue and evergreen) pulls in a lot; I’m not sure if this is because ther are no purls or because it immedately follows several rows of seed stitch, which ended up being about 1/2 inch wider on each edge.
Because of the sequence of stitches, the left selvage appears one stitch wider than the right selvage. I wonder if this would be corrected by reducing the stitch repeat by one k1 s1wyif repeat, but I’m not bothered enough to test it.